Corn Muffins Recipe

Most corn muffins fall into one of two camps: sweet, cakey imposters that taste like vanilla cupcakes, or dry, crumbly bricks that need a glass of milk just to get down. Neither is worth your time.
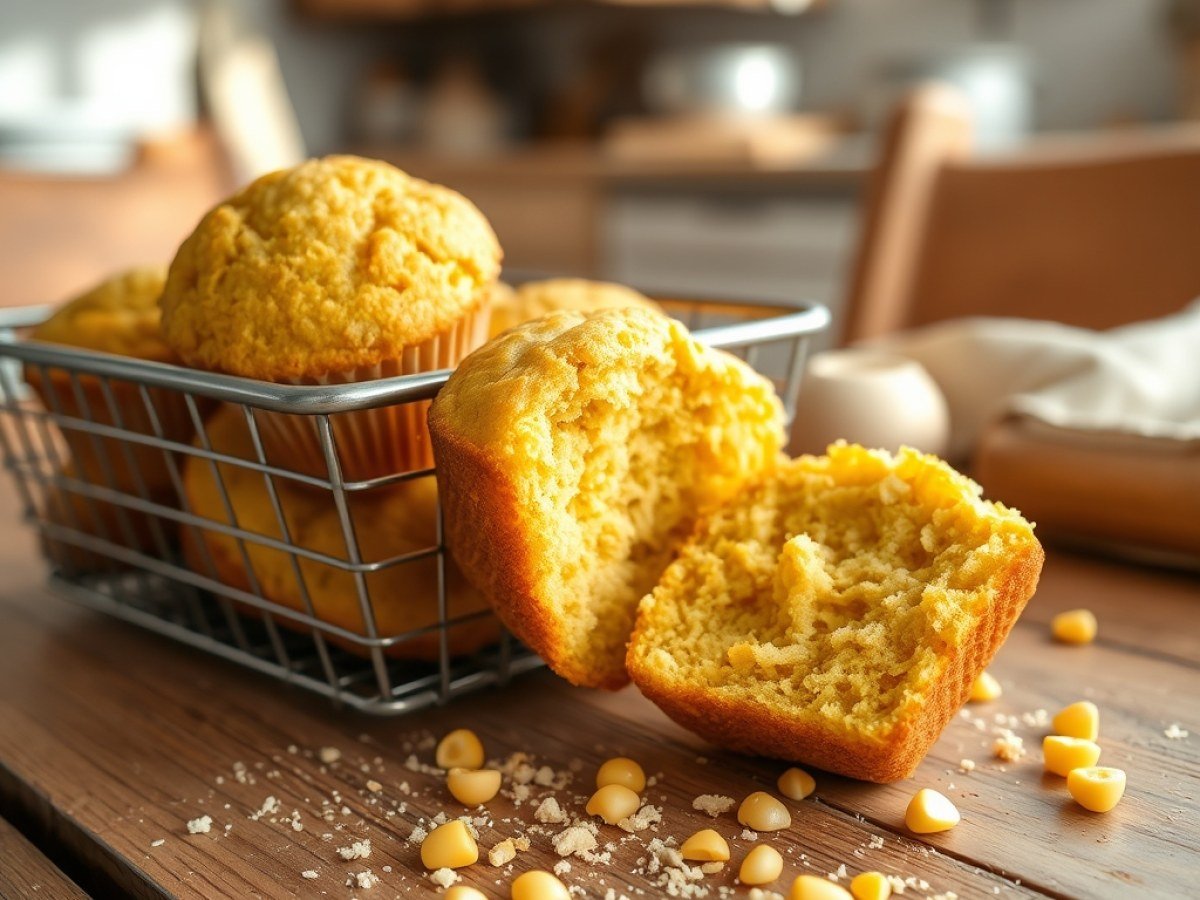
This recipe lands in the middle, where a good corn muffin belongs. It’s lightly sweet, deeply corn-flavored, and unbelievably moist thanks to sour cream working alongside buttermilk. The edges turn crisp and golden while the centers stay tender.
A hot oven, a preheated pan, and one smart mixing technique get you there in half an hour. No special equipment. No long ingredient list. Just real corn muffins that hold their own at breakfast, dinner, or straight from the cooling rack.

Why This Recipe Works
The reverse-creaming method sets this recipe apart. By whisking the dry ingredients together and then working in melted butter before adding any liquid, the fat coats the flour particles and blocks gluten from forming. Less gluten means tender muffins, not tough ones.
Sour cream handles the moisture problem. It adds tang that balances the sugar and keeps the crumb soft for days—not just the first hour out of the oven. Buttermilk deepens the corn flavor and reacts with the baking soda for lift.
The final piece is heat. A 400°F oven and a preheated muffin tin create a burst of steam the moment batter hits the pan. That steam pushes the tops into a proper dome and crisps the edges before the interior has a chance to dry out.
One more detail worth knowing: the ratio of cornmeal to flour matters more than most recipes admit. Equal parts by volume keeps the muffins unmistakably corn-flavored without turning them gritty or heavy. Push the cornmeal higher and you get something closer to a hockey puck; drop it lower and you’ve basically made a sweet tea cake. Medium-grind cornmeal is the sweet spot—fine enough to hydrate fully, coarse enough to leave a little texture on the tongue. Stone-ground cornmeal works too, but expect a slightly chewier bite and a deeper, more pronounced corn taste.
Ingredients
Servings: 12 muffins · Prep time: 10 minutes · Cook time: 20 minutes · Total time: 30 minutes
- 1 cup (120g) all-purpose flour
- 1 cup (120g) medium-grind cornmeal
- 1/2 cup (100g) granulated sugar
- 1 tablespoon baking powder
- 1/2 teaspoon baking soda
- 1/2 teaspoon salt
- 1/2 cup (1 stick / 113g) unsalted butter, melted and cooled slightly
- 3/4 cup (180ml) buttermilk, room temperature
- 1/4 cup (60g) sour cream, room temperature
- 2 large eggs, room temperature
- 1 teaspoon vanilla extract
A quick word on measuring: spoon the flour and cornmeal into your measuring cups and level them off with the back of a knife. Scooping directly from the bag compacts the grains and can add 20 percent or more to the actual amount, which is the single most common cause of dry, dense muffins. If you own a kitchen scale, use it—the gram weights above are the reliable path.
Instructions
- Preheat and prepare. Preheat oven to 400°F (200°C). Grease a 12-cup muffin tin generously with butter or nonstick spray, or line with paper liners. For extra-crisp edges, place the empty tin in the oven while it preheats.
- Whisk dry ingredients. In a large bowl, whisk together flour, cornmeal, sugar, baking powder, baking soda, and salt until evenly combined. Set aside.
- Combine wet ingredients. In a medium bowl or large measuring cup, whisk together melted butter, buttermilk, sour cream, eggs, and vanilla until smooth and well blended.
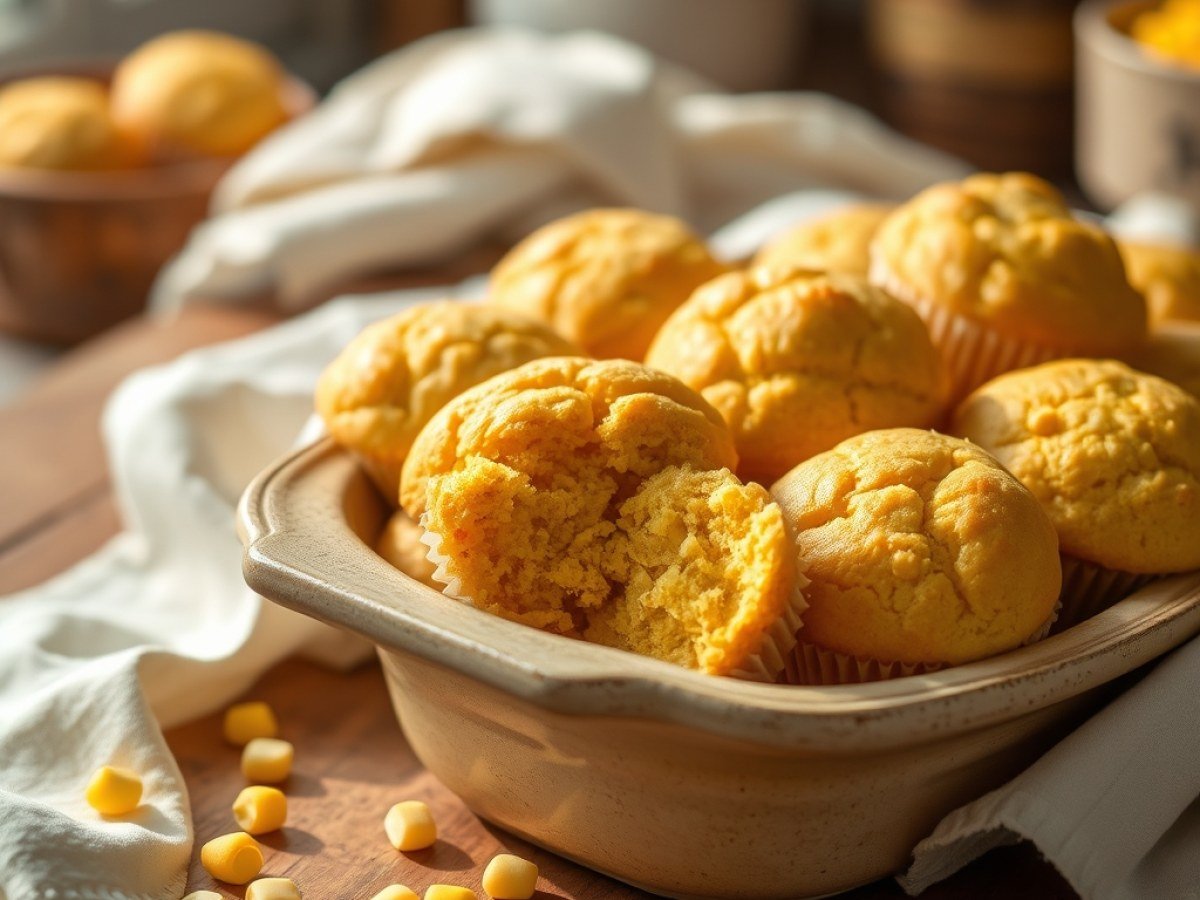
- Make the batter. Pour the wet ingredients into the dry ingredients. Stir with a spatula or wooden spoon just until no dry streaks remain—about 10-12 strokes. The batter will be thick and slightly lumpy. Do not overmix.
- Fill and bake. Divide batter evenly among muffin cups, filling each about 3/4 full. If using a preheated tin, carefully remove it from the oven, add batter, and return immediately. Bake for 18-20 minutes, until golden brown and a toothpick inserted in the center comes out clean.
- Cool and serve. Let muffins cool in the pan for 5 minutes, then transfer to a wire rack. Serve warm or at room temperature.
Tips & Variations
- For extra corn flavor, add 1/2 cup of fresh or frozen corn kernels (thawed and patted dry) to the batter.
- Swap the sour cream for plain Greek yogurt if you don’t have sour cream on hand.
- To make these savory, reduce sugar to 2 tablespoons and add 1/2 cup shredded cheddar cheese and 2 chopped green onions.
- Room temperature ingredients blend more smoothly and create a more uniform batter. If you’re short on time, place eggs in warm water for 5 minutes and microwave buttermilk for 10 seconds.
- Don’t overmix! Stop as soon as the flour disappears. Overmixing develops gluten, which makes muffins tough and tunneled.
- For bakery-style domed tops, bake at 400°F for the first 8 minutes, then reduce to 350°F for the remaining time.
- Add a streusel topping for a coffee-cake feel: cut 2 tablespoons cold butter into 1/4 cup flour, 3 tablespoons brown sugar, and a pinch of cinnamon until crumbly, then scatter over the batter before baking.
- Brown the butter instead of simply melting it. Cook it over medium heat until the milk solids turn golden and smell nutty, then cool slightly. The muffins pick up a subtle toffee note that pairs beautifully with the corn.
- Fold in 1/2 cup of blueberries or dried cranberries for a fruity version—toss them in a spoonful of flour first so they don’t sink to the bottom.
- For jalapeño cheddar muffins, add 1 minced jalapeño, 1/2 cup shredded sharp cheddar, and keep 2 tablespoons of sugar so the savory and sweet notes balance.
Storage & Make-Ahead
Store cooled muffins in an airtight container at room temperature for up to 3 days. For longer storage, wrap individually in plastic wrap and freeze for up to 2 months. Reheat in a 300°F oven for 5-7 minutes or microwave for 20-30 seconds.
A few storage nuances make a real difference. Muffins kept at room temperature soften over time because the moisture migrates from the crumb to the crust—if you prefer a crisper top on day two, refresh them in a toaster oven rather than the microwave. For freezing, cool them completely first; wrapping even slightly warm muffins traps steam and turns the surface soggy. When you’re ready to eat, thaw at room temperature for an hour or reheat straight from frozen, adding a couple of minutes to the oven time. If you want to prep ahead, mix the dry ingredients and store them in a zip-top bag for up to a week, and combine the wet ingredients the night before, keeping them refrigerated and bringing them to room temperature before baking.
Nutrition Information
- Calories: 310
- Carbohydrates: 38g
- Protein: 6g
- Fat: 15g
- Saturated Fat: 9g
- Fiber: 2g
- Sugar: 11g
- Sodium: 320mg
Nutrition values are an estimate and will vary based on exact ingredients and portion sizes.
FAQs
Can I use this recipe to make cornbread instead of muffins?
Yes! Pour the batter into a greased 8×8-inch baking pan and bake at 400°F for 20-25 minutes, until golden and a toothpick comes out clean. The muffins will be slightly more domed, but the flavor and texture are equally delicious.
Why are my corn muffins dry and crumbly?
Dryness usually comes from overbaking or too little fat. Make sure to measure flour accurately (spoon and level) and check for doneness a minute or two early—a toothpick should come out with a few moist crumbs, not completely clean. Also, don’t skip the sour cream; it’s a key moisture booster.
Can I make these muffins gluten-free?
You can substitute the all-purpose flour with a 1:1 gluten-free baking blend, but the texture will be slightly different. For best results, use a blend that contains xanthan gum and let the batter rest for 15 minutes before baking to hydrate the cornmeal.
Can I make these muffins ahead of time?
Absolutely. Bake them a day in advance, cool completely, and store in an airtight container. They actually improve slightly overnight as the cornmeal continues to absorb moisture. For the freshest result on serving day, warm them briefly in a 300°F oven.
Do I really need to preheat the muffin tin?
It’s optional but worthwhile if you want crisp, golden edges. The preheated pan sears the batter on contact, mimicking what a commercial bakery achieves. If you skip this step, simply grease the tin as usual and add two to three minutes to the bake time.