Homemade Pop Tarts Recipe

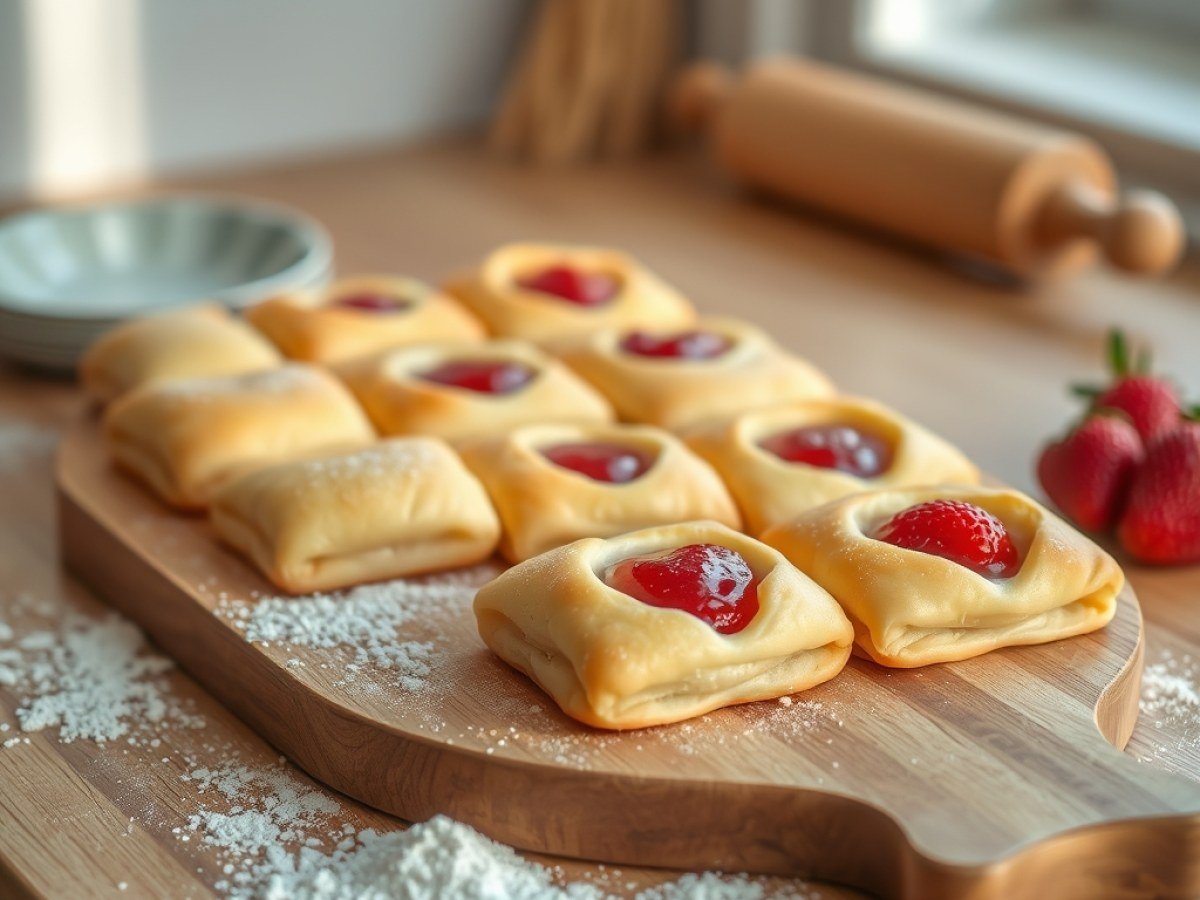
If you’ve ever bitten into a store-bought pop tart and wished the crust actually tasted like butter, this recipe is for you. Making homemade pop tarts at home takes about 25 minutes of hands-on work, and the payoff is a shatteringly flaky pastry stuffed with real strawberry jam — no preservatives, no mystery ingredients, and a glaze that actually tastes like vanilla.
The dough comes together in a food processor in under two minutes, and the whole thing is genuinely fun to make with kids, who can handle the filling, sealing, and sprinkle duty. You’ll get four generous pastries, each with that iconic glossy top and crunchy coarse-sugar finish.
Below you’ll find the full recipe, plus tips on keeping the dough cold, preventing leaks, and customizing the filling to whatever your family loves.
What Makes This Homemade Pop Tarts So Good
The crust is the star here. A mix of cold butter and cold shortening gives you the best of both worlds — butter for flavor, shortening for that tender, shatteringly flaky texture that doesn’t turn greasy. Pulsing them into pea-sized lumps in a food processor means you get visible flecks of fat that create steam pockets in the oven, which is exactly what makes pastry flaky.
A simple egg wash and a sprinkle of cinnamon sugar on top mimic that familiar glossy, crunchy surface. And because you control the filling, you can go classic strawberry, swap in Nutella, or make a brown sugar cinnamon version that beats anything in a foil wrapper.
Servings: 4 | Prep time: 25 minutes | Cook time: 22 minutes | Total time: 47 minutes (plus chilling)
Ingredients
- 2 cups (250 g) all-purpose flour
- 1 tablespoon granulated sugar
- 1 teaspoon fine sea salt
- 1/2 cup (1 stick; 113 g) unsalted butter, cold, cut into 1/2-inch cubes
- 1/2 cup (96 g) vegetable shortening, cold, cut into 1/2-inch pieces
- 1/4 cup (60 ml) ice water
- 1 large egg
- 1 tablespoon milk
- 3/4 cup (240 g) strawberry jam (or filling of choice)
- 1/2 cup (100 g) granulated sugar (for sprinkling, optional)
- 1/2 teaspoon ground cinnamon (optional, for cinnamon sugar topping)
- 1/2 cup (60 g) powdered sugar
- 1 tablespoon milk (for glaze)
- 1/4 teaspoon vanilla extract (for glaze)
- Rainbow sprinkles (optional)
Instructions
- Make the dough. In a food processor, pulse the flour, sugar, and salt to combine. Add the cold butter and shortening and pulse 8–10 times, until you have pea-sized lumps with some larger pieces still visible. Drizzle in the ice water and pulse just until the dough starts to clump together — stop before it forms a ball.
- Chill the dough. Turn the dough out onto a sheet of plastic wrap, shape it into a 1-inch-thick disk, and wrap it tightly. Refrigerate for at least 30 minutes, or up to 2 days. This rest hydrates the flour and relaxes the gluten so the pastry rolls out without shrinking.
- Roll and cut. On a lightly floured surface, roll the dough to 1/8-inch thickness. Cut into 3×4-inch rectangles, re-rolling the scraps once. You should end up with 8 rectangles — 4 tops and 4 bottoms. If the dough gets soft or sticky while you work, slide it onto a baking sheet and chill for 10 minutes.
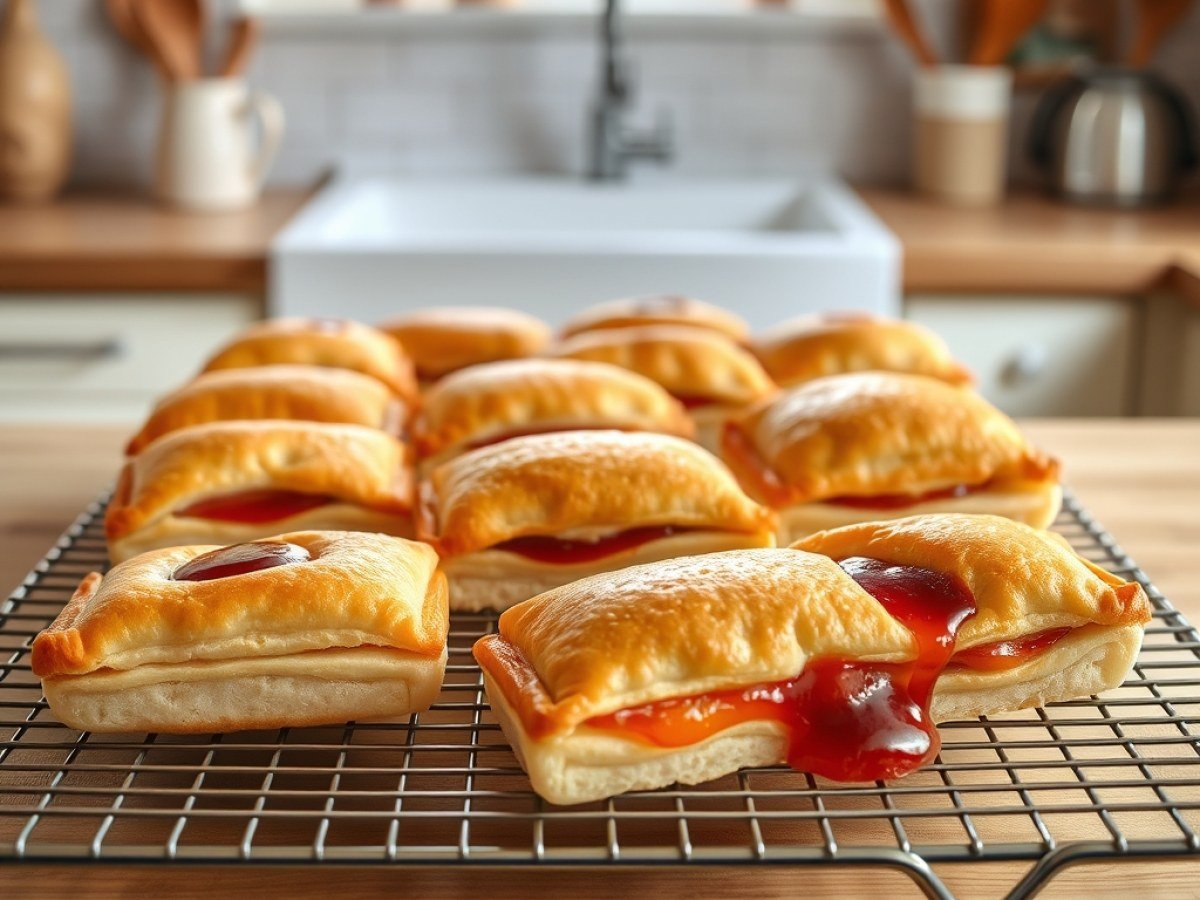
- Fill and seal. Place 4 rectangles on a parchment-lined baking sheet. Spoon 3 tablespoons of jam onto each, leaving a 1/2-inch border clear. Brush the edges with egg wash (1 egg beaten with 1 tablespoon milk). Top with the remaining rectangles, press the edges together, then crimp firmly with the tines of a fork. Prick the top of each pastry a few times so steam can escape.
- Chill before baking. Freeze the assembled pastries for 15 minutes while the oven preheats to 375°F (190°C). This keeps the butter cold so the pastry puffs and flakes instead of melting flat.
- Bake. Brush the tops with egg wash and sprinkle with cinnamon sugar if you like. Bake for 20–22 minutes, until golden brown and puffed. Cool on a wire rack for 10 minutes before glazing.
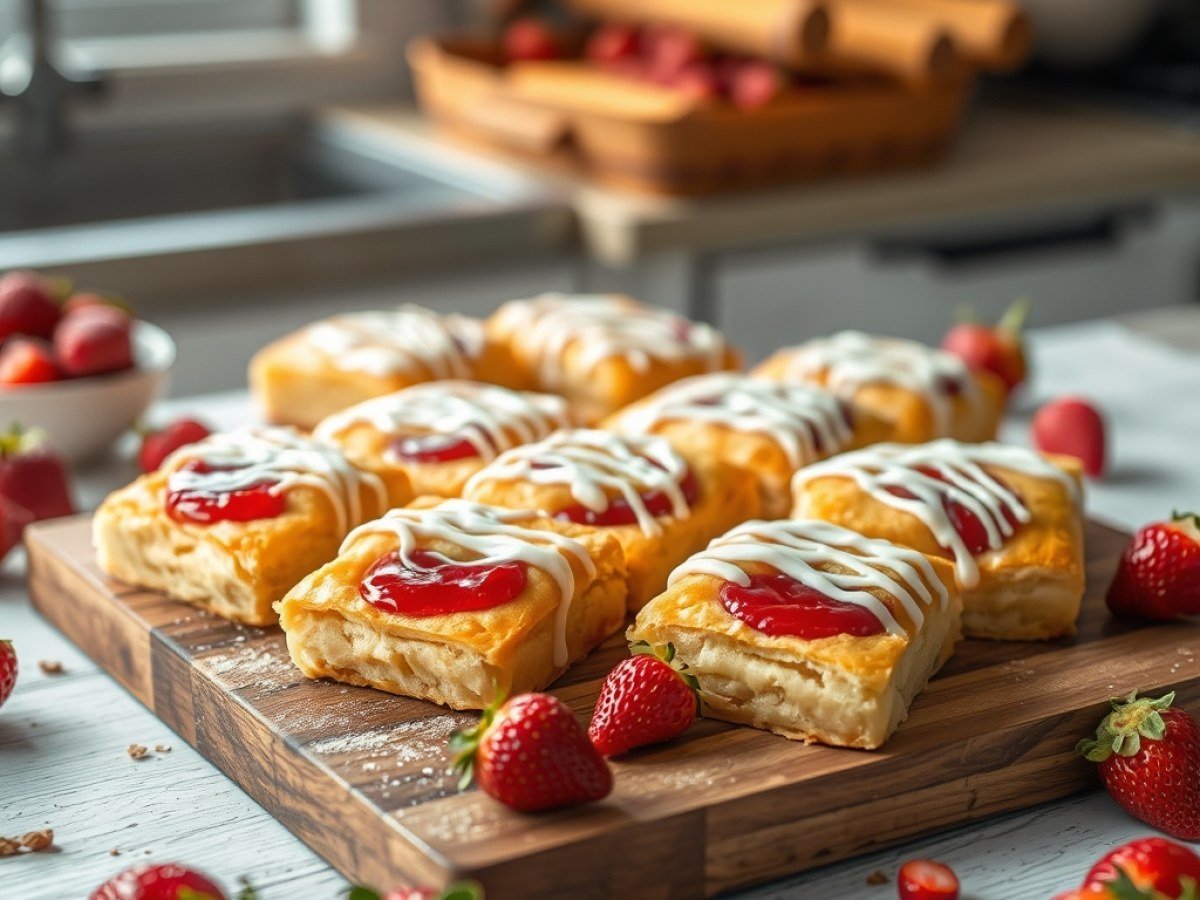
- Glaze and decorate. Whisk the powdered sugar, milk, and vanilla until smooth and thick enough to coat the back of a spoon. Drizzle or spread over the cooled pastries and top with sprinkles. Let the glaze set for 15 minutes before serving.
Tips & Variations
Keep everything cold. Cold butter, cold shortening, ice water, and even chilled flour on a hot day. Warm dough turns tough and greasy instead of flaky, so work fast and chill whenever things soften.
Don’t overfill. Three tablespoons is the absolute max. More will leak out and burn on the pan. For runnier fillings like Nutella, use 2 tablespoons and freeze the dollops on parchment first so they hold their shape.
Seal well. Press the fork tines firmly all the way through both layers of dough. If a little filling escapes during baking, just trim it off once the pastries cool.
Make it your own. Try brown sugar cinnamon (mix 1/2 cup brown sugar with 1 teaspoon cinnamon), raspberry jam, or even a savory version with cheese and herbs.
For a more authentic look. Trim the dough into perfect rectangles using a ruler and a pizza cutter. Save the scraps for a mini tart instead of re-rolling endlessly.
No food processor? Use a pastry blender or two knives to cut the fat into the flour until pea-sized. Work quickly so the fat stays cold.
Make ahead. Freeze unbaked pastries on a baking sheet, then transfer to a freezer bag. Bake straight from frozen, adding 2–3 minutes to the baking time.
Storage & Make-Ahead
Store baked pop tarts in an airtight container at room temperature for up to 3 days, or refrigerate for up to 1 week. Reheat in a 350°F oven for 5 minutes to crisp the crust back up.
Freeze baked pop tarts for up to 2 months; thaw at room temperature and reheat. Unbaked assembled pastries can also be frozen for up to 2 months — bake straight from frozen, adding 2–3 minutes.
Nutrition Information
- Calories: 480 kcal
- Carbohydrates: 62 g
- Protein: 5 g
- Fat: 24 g
- Saturated Fat: 11 g
- Fiber: 1 g
- Sugar: 28 g
- Sodium: 320 mg
These values are an estimate and will vary based on your filling, glaze, and portion sizes.
Your Questions, Answered
Can I use puff pastry instead of making the dough from scratch?
Yes, but the texture will be different — more crisp and layered rather than tender and crumbly. Use one sheet of thawed puff pastry, cut into rectangles, fill, and bake at 400°F for about 18 minutes. It’s a great shortcut, but the scratch dough is worth the effort for that classic pop tart taste.
Why did my pop tarts leak filling in the oven?
Leaking usually happens because the edges weren’t sealed tightly enough or the pastries were overfilled. Press the fork tines firmly all the way through both layers of dough, and stick to 3 tablespoons of filling max. Freezing before baking also helps the dough hold its shape and prevents blowouts.
Can I make these gluten-free?
You can substitute a 1:1 gluten-free flour blend, but the texture will be slightly more crumbly. Use a blend that contains xanthan gum, and add an extra 1–2 tablespoons of ice water if the dough seems dry. Chill the dough well before rolling.
How do I get the icing to look like store-bought pop tarts?
For that classic look, make a thick glaze with powdered sugar, milk, and vanilla, and spread it over the cooled pastries with a small offset spatula. Let it set for 15 minutes before adding sprinkles so they stick. You can also tint the glaze with food coloring for fun variations.